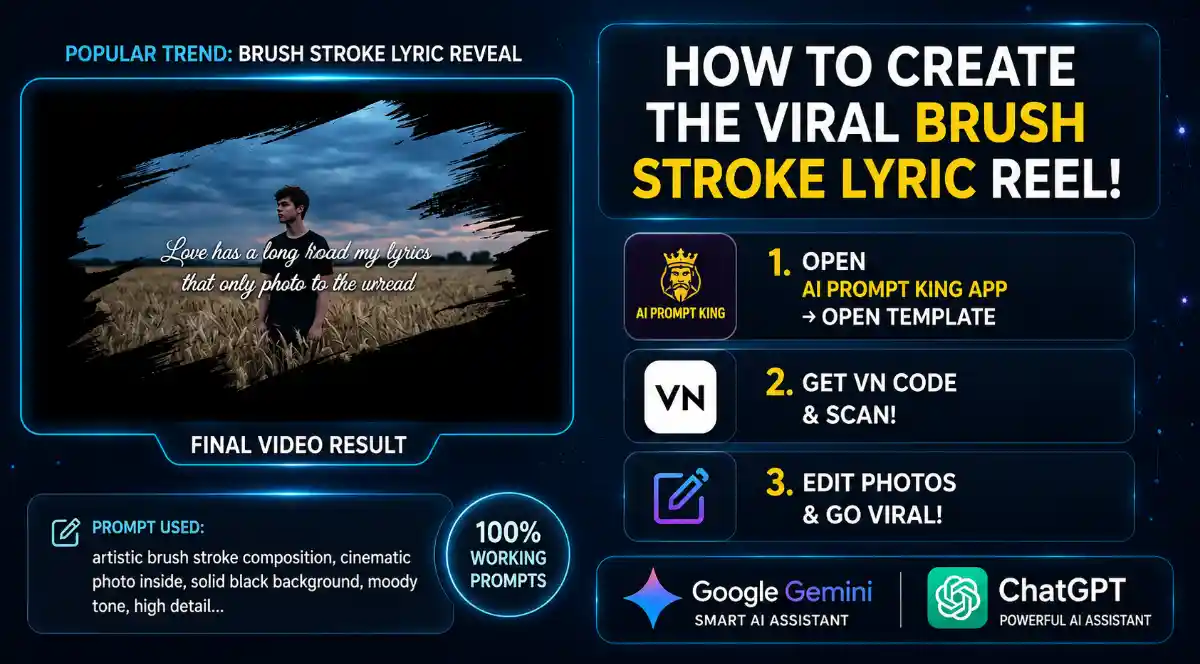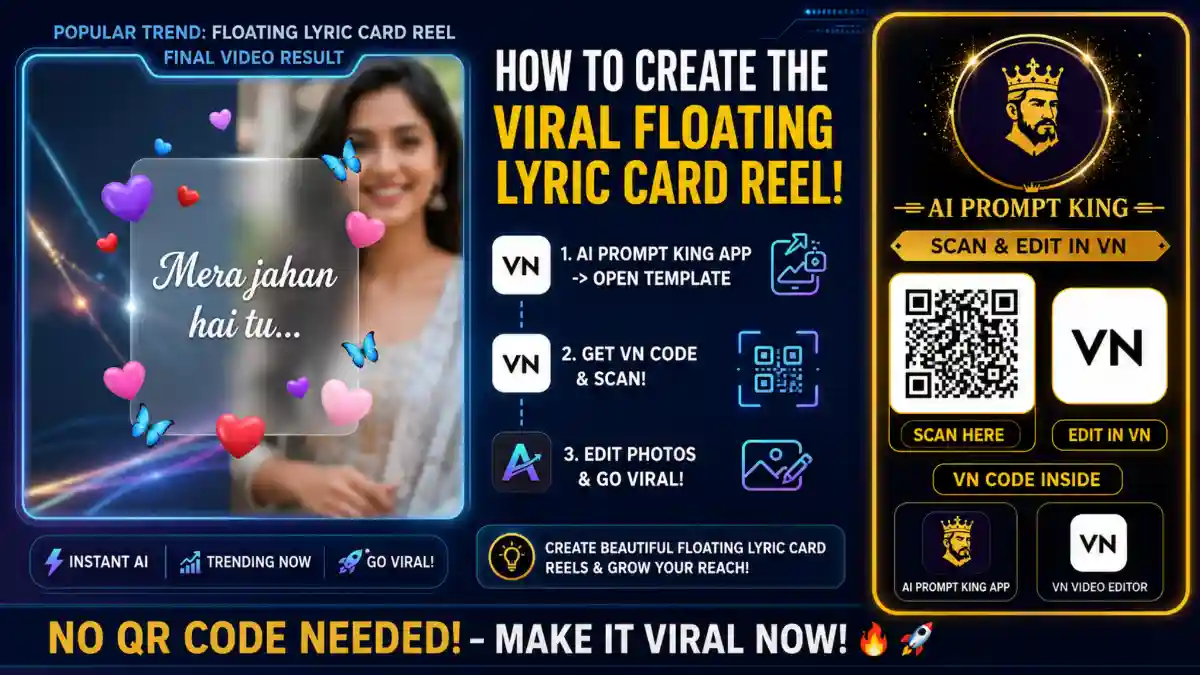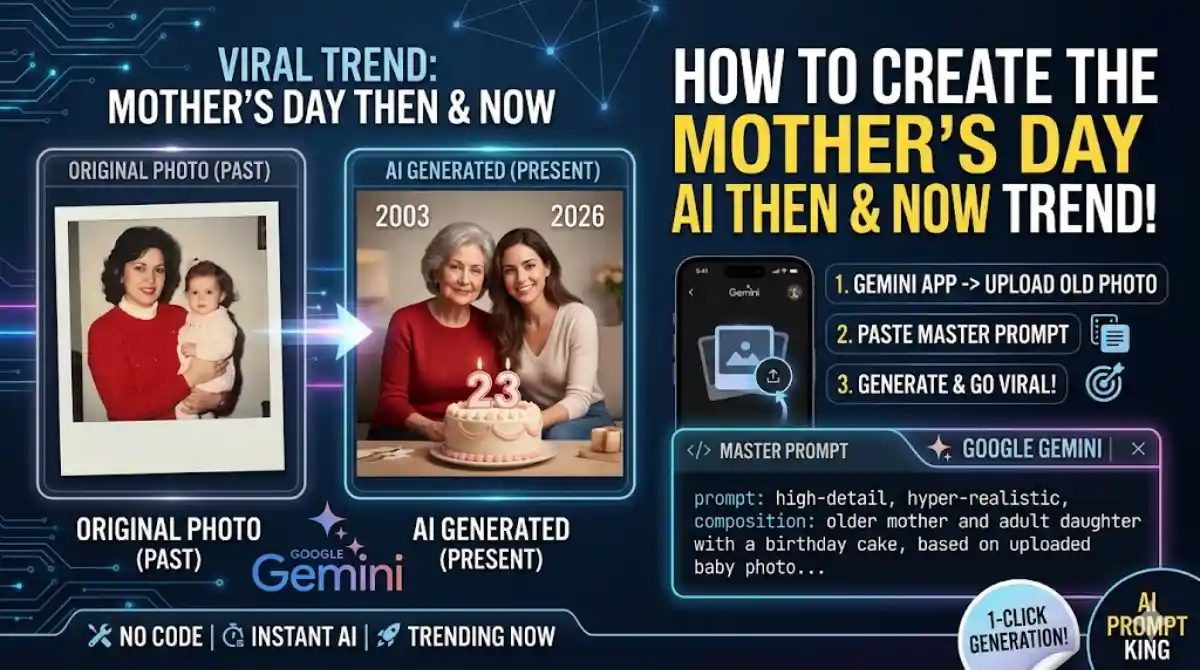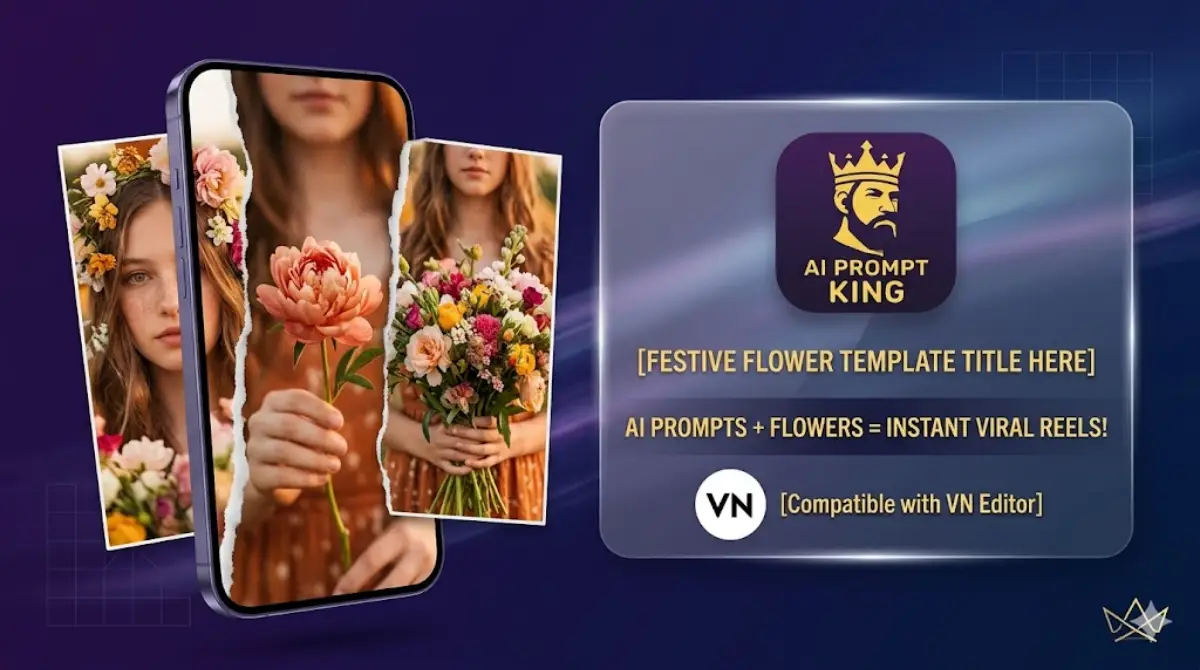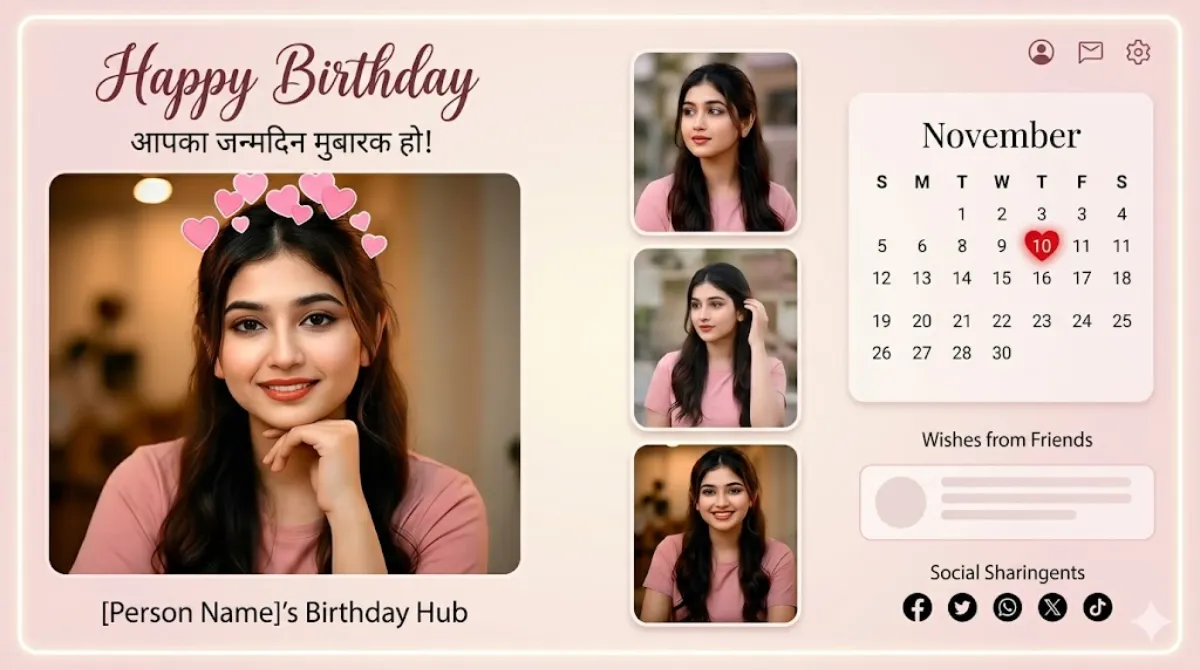
Happy Birthday If you want to wish someone a Happy Birthday in the most unique and trending way, the Happy Birthday is the perfect Instagram Reel trend right now. This aesthetic poster features a customized calendar month, a heart on the birth date, and a beautiful photo collage of the birthday boy or girl.
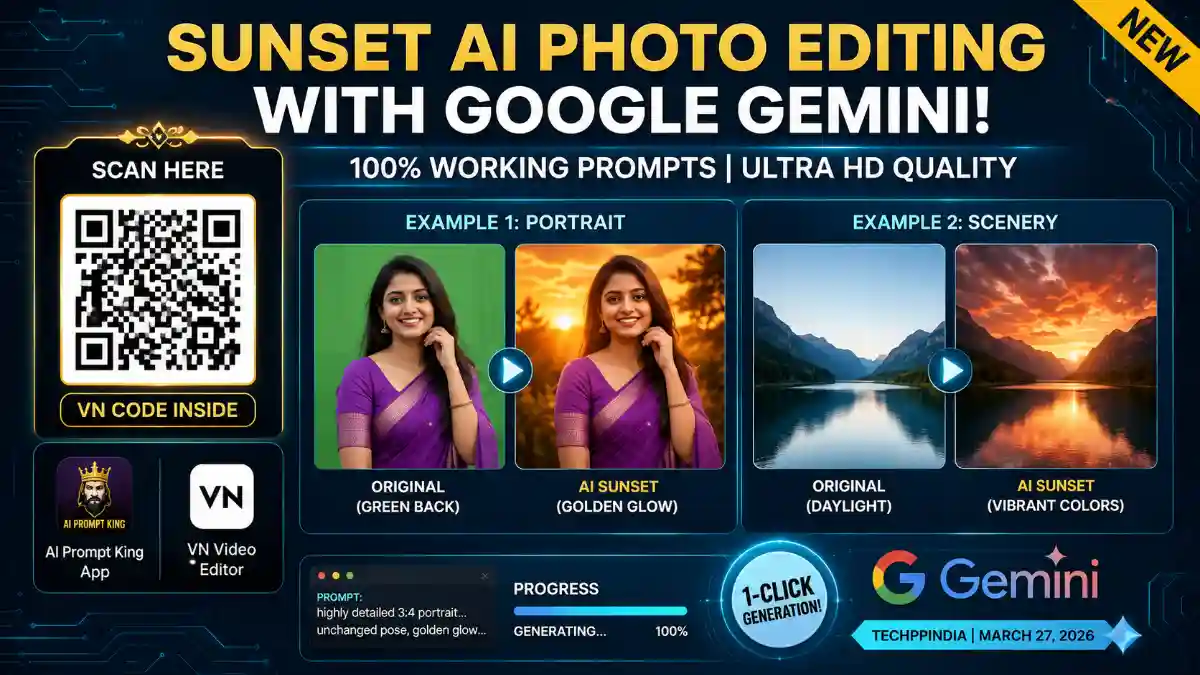
Many people think this requires complex video editing but that’s a misconception! This image is purely generated using advanced AI like Gemini AI or ChatGPT.
Here is the complete step-by-step SEO guide to generating this viral poster using our exclusive AI Master Prompt.
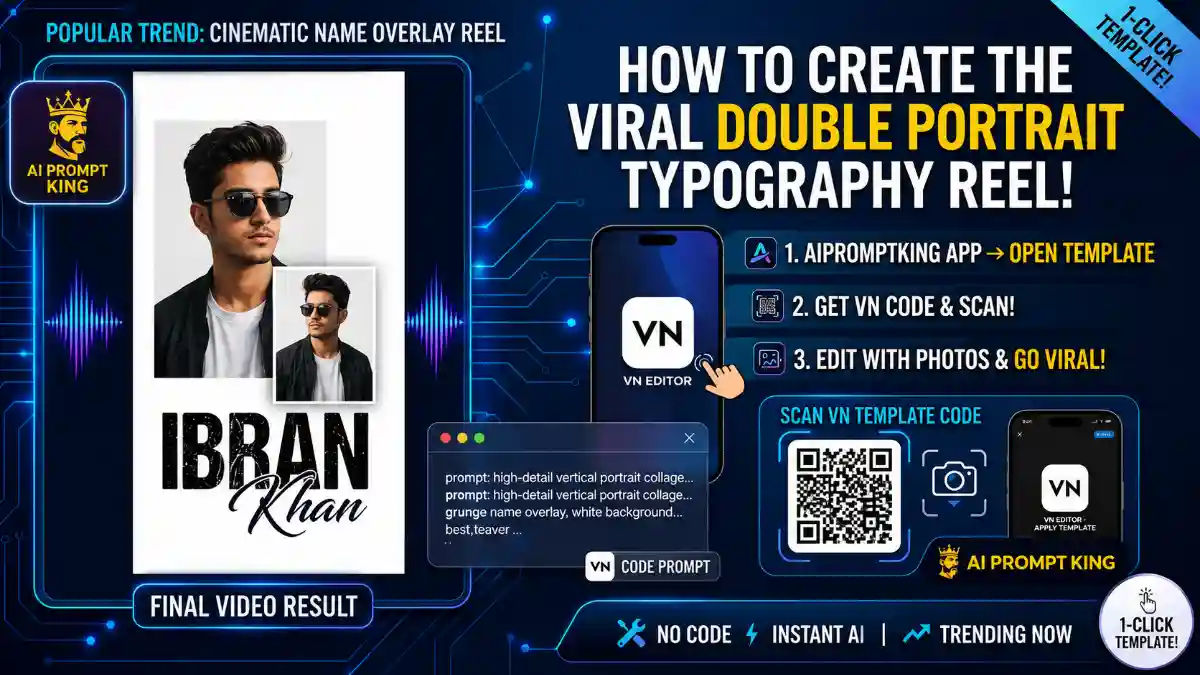
Step 1: Get the Prompt from AIPromptKing App
To generate an accurate poster with perfect text and calendar formatting, you need the right prompt.
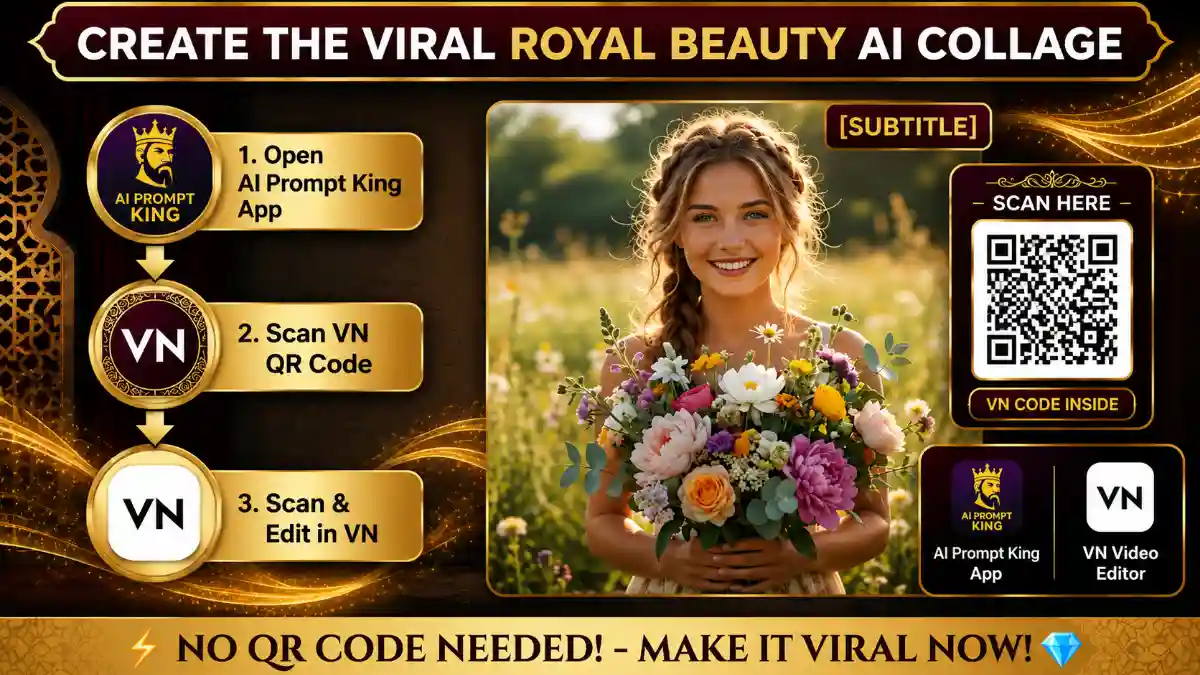
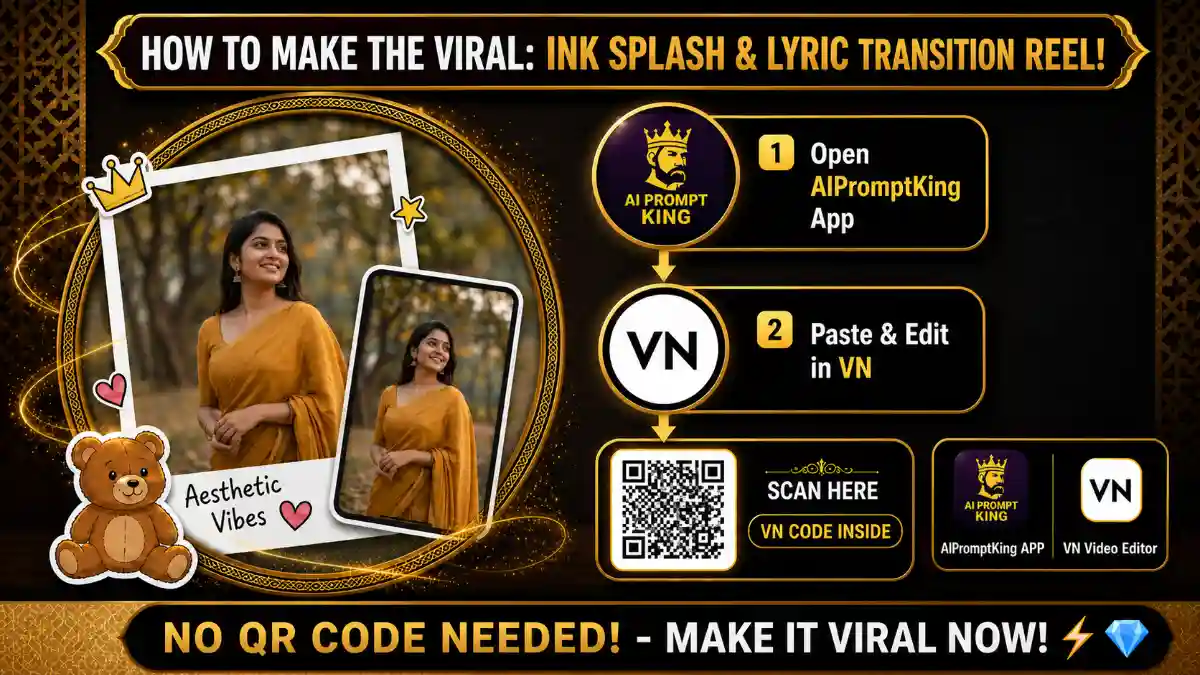
- Open AIPromptKing: Launch the AIPromptKing app on your mobile device.
- Find the Trend: Search for Happy Birthday in the app’s dashboard.
- Copy the Master Prompt: Tap on the template to view the professionally engineered text prompt.
- Go to the AI Generator: Click the button in the app that says “Generate on Website.” This will redirect you to the page where you can access Gemini AI.
Step 2: Generate the Image using Gemini AI
Now that you have the prompt, it’s time to let the AI do the magic.
- Open Gemini AI / ChatGPT: On the website, access the AI image generation chatbox.
- Paste and Customize: Paste the Master Prompt you copied from AIPromptKing.
- Pro Tip: You can change the month (e.g., from ‘November’ to ‘July’), the date (from ’10’ to ’25’), and the description of the person (e.g., ‘a cute baby boy in yellow’ to ‘a beautiful girl in a red dress’) directly in the text!
- Hit Generate: Press enter and wait a few seconds. The AI will generate a high-quality, fully customized Happy Birthday poster just for you.
- Download: Save the AI-generated image to your phone’s gallery.
Step 3: Turn it into a Viral Reel
Once you have your AI-generated poster, making the reel is simple:
- Open Instagram and create a new Reel.
- Add a few real photos of the person at the beginning.
- Add your newly generated Happy Birthday at the end as the big reveal.
- Add a trending emotional or Happy Birthday audio track and hit post!
How to Use This Guide
This tutorial is part of VelocAI’s growing library of practical AI guides. Every step above has been tested on real devices before publishing, so the workflow you see is the same one that produced the demo result. If a step looks unfamiliar, scroll back to the top and match the screenshots one by one before moving forward — small details (aspect ratio, export quality, audio sync) make a big difference in the final output.
Getting the Most Out of This Tutorial
- Read the whole guide once before starting, then follow it step by step.
- Bookmark the tools and prompts mentioned — you will reuse them.
- If a step does not work the first time, change one variable and try again. Most issues come from a single setting that is slightly off.
- Save your final output project file so you can iterate without starting from scratch next time.
Related Resources on VelocAI
If you found this useful, the homepage carries the latest tutorials, tool reviews, and prompt packs published this week. Browse our AI Tools category for hands-on reviews, the AI Prompts archive for tested prompts you can copy-paste today, and our About page if you want to know more about how VelocAI tests and publishes content.
FAQ
Is this method free to use?
The core workflow uses tools that have a generous free tier. Where a paid plan unlocks faster rendering or higher quality, the post mentions it explicitly. You can complete the basic tutorial without paying anything.
How long does it take to recreate this?
Most readers finish in 10–20 minutes the first time and under 5 minutes once familiar with the tool. The slowest part is usually the rendering or export step.
Will this work on my phone?
Yes — this guide is mobile-first wherever possible. The tutorial uses tools available on both Android and iOS. If a desktop step is required it will be clearly marked.
What if my output looks different from the demo?
Small differences in source media (lighting, framing, resolution) change the final result. Re-check the inputs first, then revisit the settings step by step. Most variations come from a single mismatched parameter.
Can I use this commercially?
It depends on the licence of the underlying tool, music, or assets. Check the original tool’s terms of service before using output for paid client work or branded campaigns.
Found an error in this guide or want to suggest an update? Drop us a note via the contact page — we read every message.