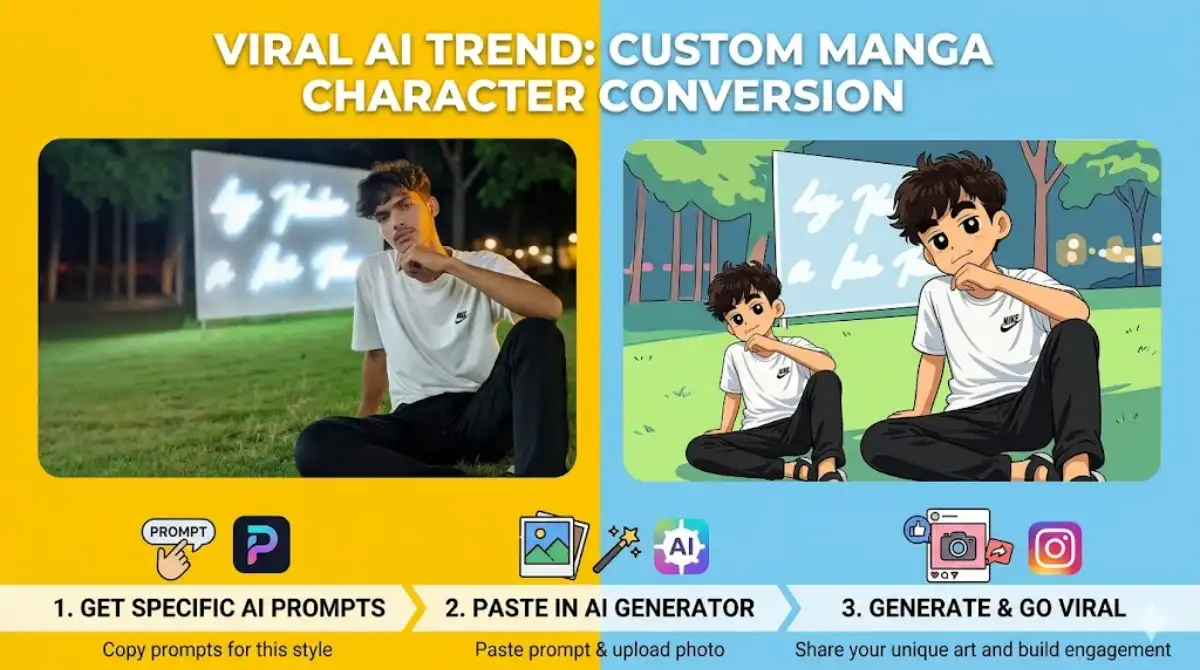
Crayon Shin chan Social media is currently flooded with a nostalgic and fun trend: turning real-life photos into Crayon Shin chan style anime characters. Whether it’s your solo pose, a couple’s photo, or a group shot with friends, this AI-powered transformation looks incredibly cool and aesthetic.
Unlike other trends, this does not require any VN code or complex video editing. You can achieve this look entirely using ChatGPT. In this tutorial, we will show you exactly how to do it using our exclusive Master Prompt.
Step 1: Get the Prompt from AIPromptKing App
Before heading to ChatGPT, you need the specific prompt that triggers the Crayon Shin chan art style.
- Open AIPromptKing: Launch the AIPromptKing app on your mobile.
- Find the Crayon Shin chan Trend: Search for Crayon Shin chan” in the app’s dashboard.
- Copy the Master Prompt: Click on the template to find the professionally crafted prompt.
- Go to ChatGPT: Tap the button in the app that redirects you to our website or directly to ChatGPT.
Step 2: Generating the Character in ChatGPT
Once you have the prompt, follow these steps to create your character:
- Open ChatGPT: Ensure you are using a version that supports image uploads (GPT-4o or GPT-4).
- Upload Your Photo: Click the attachment icon and select the clear, well-lit photo you want to transform.
- Paste the Master Prompt: Paste the prompt you copied from AIPromptKing into the chatbox.
- Generate: Hit enter. ChatGPT’s DALL-E 3 will analyze your features and outfit to recreate you in the iconic Shin-chan universe.
The Master Prompt for Best Results
Use this exact text for the most realistic Crayon Shin chan look:
“Turn the person in this photo into a character from the ‘Crayon Shin chan’ anime series. Ensure the character has the signature thick eyebrows, large expressive eyes, and soft 2D shading. Maintain the original clothing colors and hairstyle for an accurate ‘Then vs AI’ comparison. Output as a high-quality 2D digital illustration.”
Step 3: Creating the Final Reel
To make the viral video like the ones on Instagram:
- Use a video editor like VN or CapCut.
- Place your Original Photo first.
- Add the AI-Generated Crayon Shin chan Character next.
- Use a smooth transition (like ‘Zoom’ or ‘Dissolve’) and add the trendingCrayon Shin chan theme music!
How to Use This Guide
This tutorial is part of VelocAI’s growing library of practical AI guides. Every step above has been tested on real devices before publishing, so the workflow you see is the same one that produced the demo result. If a step looks unfamiliar, scroll back to the top and match the screenshots one by one before moving forward — small details (aspect ratio, export quality, audio sync) make a big difference in the final output.
Getting the Most Out of This Tutorial
- Read the whole guide once before starting, then follow it step by step.
- Bookmark the tools and prompts mentioned — you will reuse them.
- If a step does not work the first time, change one variable and try again. Most issues come from a single setting that is slightly off.
- Save your final output project file so you can iterate without starting from scratch next time.
Related Resources on VelocAI
If you found this useful, the homepage carries the latest tutorials, tool reviews, and prompt packs published this week. Browse our AI Tools category for hands-on reviews, the AI Prompts archive for tested prompts you can copy-paste today, and our About page if you want to know more about how VelocAI tests and publishes content.
FAQ
Is this method free to use?
The core workflow uses tools that have a generous free tier. Where a paid plan unlocks faster rendering or higher quality, the post mentions it explicitly. You can complete the basic tutorial without paying anything.
How long does it take to recreate this?
Most readers finish in 10–20 minutes the first time and under 5 minutes once familiar with the tool. The slowest part is usually the rendering or export step.
Will this work on my phone?
Yes — this guide is mobile-first wherever possible. The tutorial uses tools available on both Android and iOS. If a desktop step is required it will be clearly marked.
What if my output looks different from the demo?
Small differences in source media (lighting, framing, resolution) change the final result. Re-check the inputs first, then revisit the settings step by step. Most variations come from a single mismatched parameter.
Can I use this commercially?
It depends on the licence of the underlying tool, music, or assets. Check the original tool’s terms of service before using output for paid client work or branded campaigns.
Found an error in this guide or want to suggest an update? Drop us a note via the contact page — we read every message.